This post contains interactive components (experimental) that allows you to execute RAVE code from the web browsers. If you would like to try this feature and customize/play with the code, please be patient. It might take a while for the browser to finish setting up (depending on your network speed). Once the script is ready, you will see “WEBR STATUS: 🟢 Ready!” in the above banner.
Prerequisites
This post assumes that you have already imported subject’s imaging data to RAVE and finished the electrode localization.
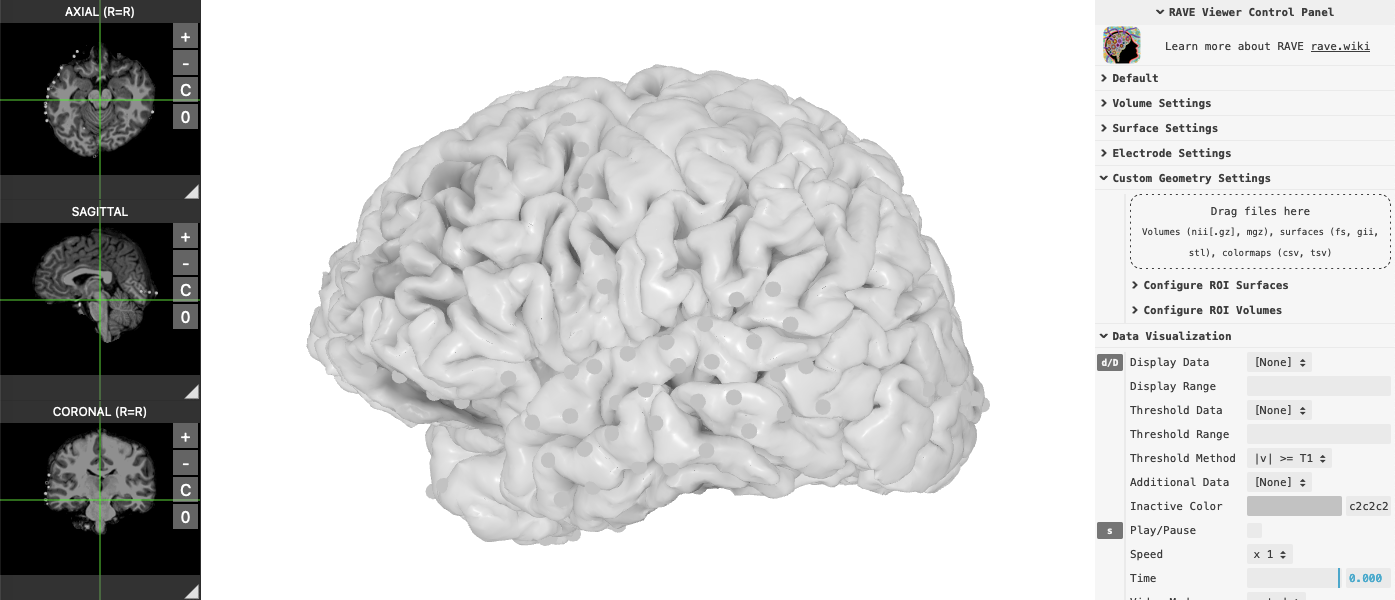
1. Simple 3D viewer
Library raveio provides simple high-level function rave_brain to load 3D brain object.
Use brain$plot(<your arguments...>) to show the viewer:

2. Render electrodes with values
brain$set_electrode_values(table_or_path) allows users to load a data table and render electrodes with colors. Users can create a csv table using Excel or their favorite programming languages, as long as the table follows the following format (See example data table):
| Subject | Electrode | varname* |
|---|---|---|
| DemoSubject | 1 | 0.25 |
| DemoSubject | 14 | -0.4 |
| … | … | … |
Here is the explanation of the columns (case-sensitive):
Subjectis the subject codeElectrodeis the electrode channel number (integer)varname*can be almost anything (give it a meaningful name, for e.g.,Power,Cluster, …) that you would like to show, and the values can be either numeric or categorical- The variable name is recommended to only contain letters and digits. For example,
BetaBandPowerseems to be a good idea, while names like75-150 Hzshould be avoided - The variable values must not be numerical if the intent is categorical. For example cluster values such as
1,2,3, … should be avoided and users should useCluster 1,Cluster 2,Cluster 3, …, orA,B,C, … instead
- The variable name is recommended to only contain letters and digits. For example,

3. Render options
brain$plot allows users to provide render options to change the following components:
- Color palette
- Default value ranges (for continuous data)
- Control panels
Here’s a full example:
Key Documentations
Function raveio::rave_brain
Title
Load ‘FreeSurfer’ or ‘AFNI/SUMA’ brain from ‘RAVE’
Name
rave_brain
Description
Create 3D visualization of the brain and visualize with modern web browsers
Usage
rave_brain(
  subject,
  surfaces = "pial",
  overlays = "aparc.a2009s+aseg",
  annotations = "label/aparc.a2009s",
  ...,
  usetemplateifmissing = FALSE,
  include_electrodes = TRUE
)
Arguments
subject
|
character, list, or |
surfaces
|
one or more brain surface types from |
overlays
|
volumes to overlay; default is |
annotations
|
surface annotation or curvature data to load; default is |
…
|
ignored, reserved for legacy code |
usetemplateifmissing
|
whether to use template brain when the subject brain files are missing. If set to true, then a template (usually ‘N27’) brain will be displayed as an alternative solution, and electrodes will be rendered according to their |
include_electrodes
|
whether to include electrode in the model; default is true |
Value
A ‘threeBrain’ instance if brain is found or usetemplateifmissing is set to true; otherwise returns NULL
Examples
# Please make sure DemoSubject is correctly installed
# The subject is ~1GB from Github

if(interactive()){
  brain <- rave_brain("demo/DemoSubject")

  if( !is.null(brain) ) { brain$plot() }

}